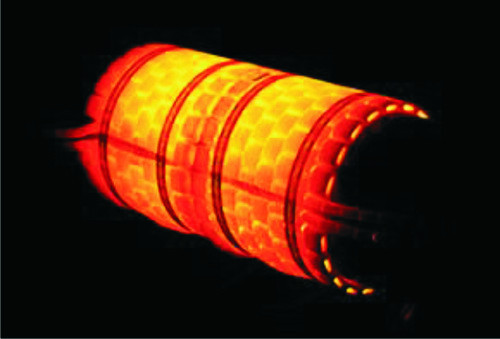
Ultrasonic Testing
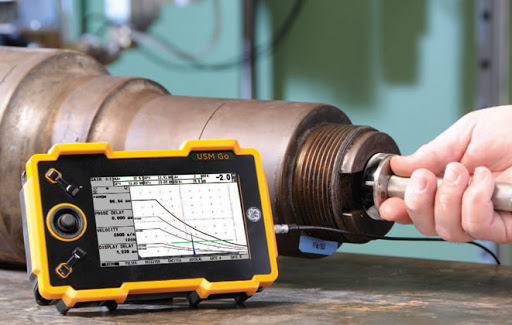
- Ultrasonic Inspection is a very useful and versatile NDT method. It is sensitive to both surface and subsurface discontinuities. It has other uses, such as thickness measurement, in addition to flaw detection.
- Singlepeak Technologies provide Efficient Reliable and Cost Effective NDT inspection with the accepted standards.
- Ultrasonic Testing used to detect surface/internal discontinues
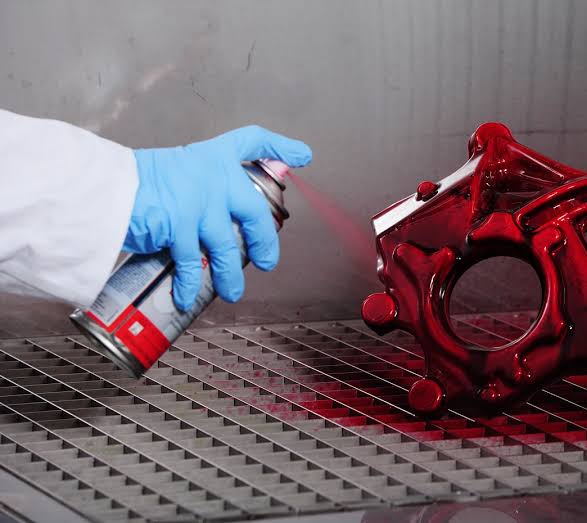
Liquid Penetrant Testing
- Liquid penetrant inspection (LPI) also called Dye penetrant inspection (DPI), or penetrant testing (PT), is a widely applied and low-cost inspection method used to locate surface-breaking defects in all non-porous materials (metals, plastics, or ceramics).
- LPI is used to detect casting, forging and welding surface defects such as hairline cracks, surface porosity, leaks in new products, and fatigue cracks on in-service components.
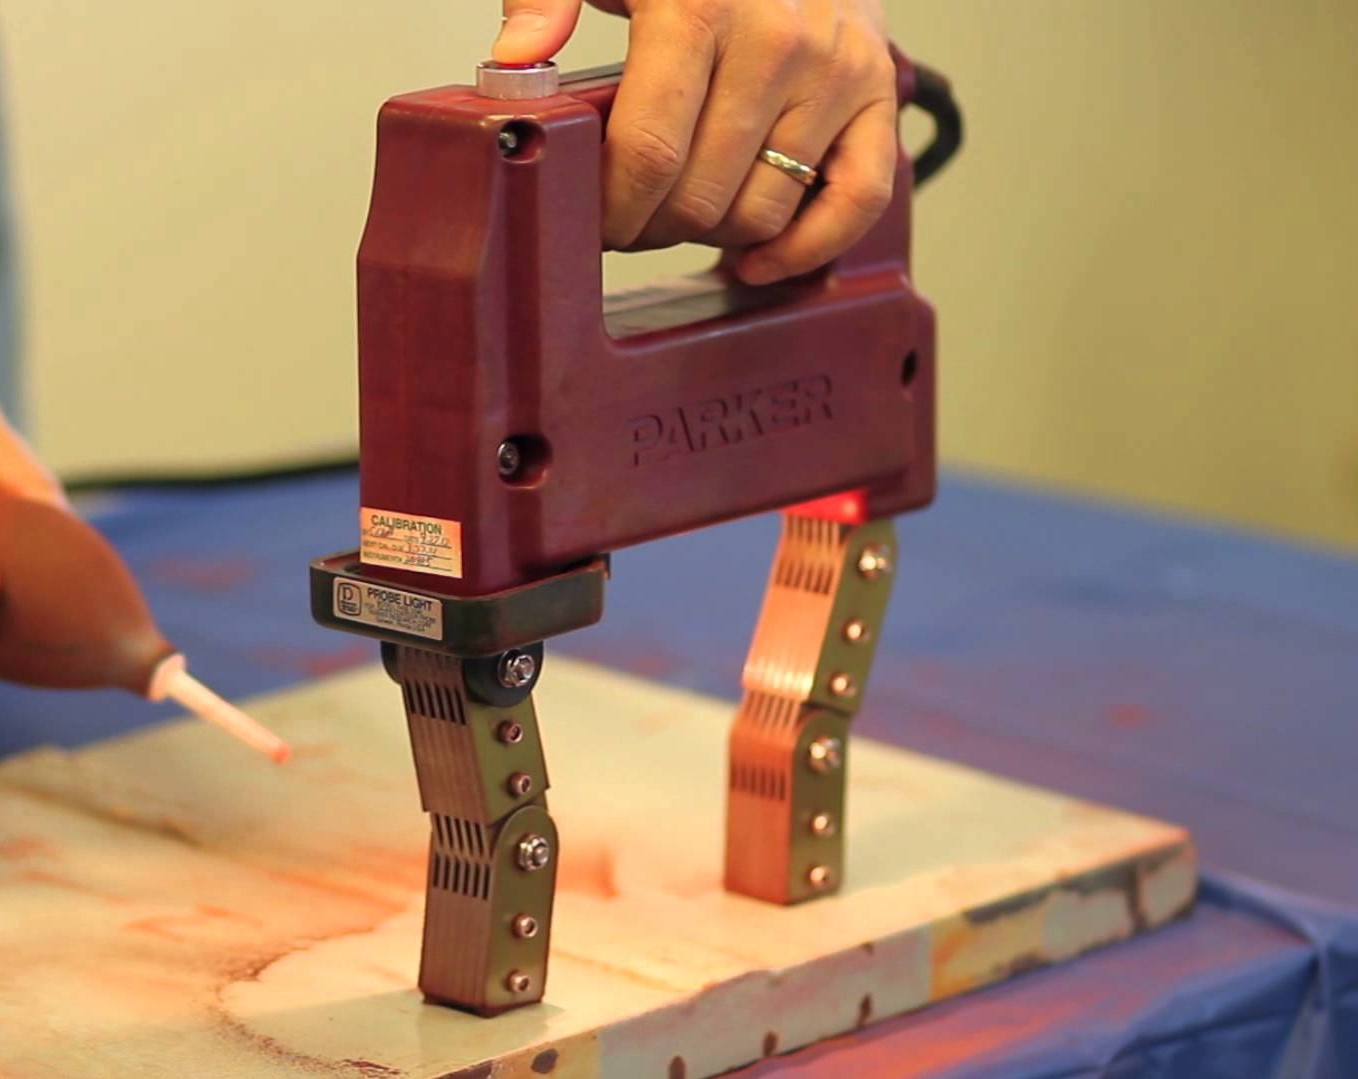
Magnetic Particle Testing
- Magnetic Particle Testing or MPT is used for detection of surface and near-surface flaws in a ferromagnetic material,
- A visible indication of the flaw is created by the fine magnetic particles, which are applied to the surface of the specimen, when they are attracted to the area of flux leakage.
Ultrasonic Thickness Measurement
- Ultrasonic Thickness Measurement is a method of performing non-destructive investigation to check material properties such as thickness using ultrasonic waves.
- Singlepeak Technologies makes use of this NDT technique in a professional way in situations where an inspector has access to only one side of a part whose thickness must be determined, such as the case of a pipe or tube, or where simple mechanical measurement is impossible or impractical for other reasons such as part size or access limitations. The ability to gauge the thickness of a solid element without requiring access to both sides of the test piece, offers this technology a multitude of possible applications.
Radiography Testing
- Industrial radiography is used for a variety of applications but is commonly performed using two different sources of radiation, X-Ray and Gamma ray sources.
- The choice of radiation sources and their strength depends on a variety of factors including size of the component and the material thickness. Within the broad group of X-Ray and Gamma ray sources are a variety of camera choices with varying radiation strengths.
- Singlepeak Technologies supplies a complete line of radiographic services for both shop and field applications. Our staff of qualified, certified, professional radiographers operate within strict safety parameters and produce high quality radiographs that allow us to utilize our interpretation skills honed through many years of experience to determine if an anomaly is actually a defect or can be accepted per code requirements.
Advantages of Radiography Testing
- Inspection of a wide variety of material types with varying densityAvoid unnecessary shutdown due to tube leakage in condenser.
- Ability to inspect assembled components.
- Minimum surface preparation required.
- Sensitivity to changes in thickness corrosion, voids, cracks and material density changes.
- The ability to detect both surface and subsurface defects and the ability to provide a permanent record of the inspection.
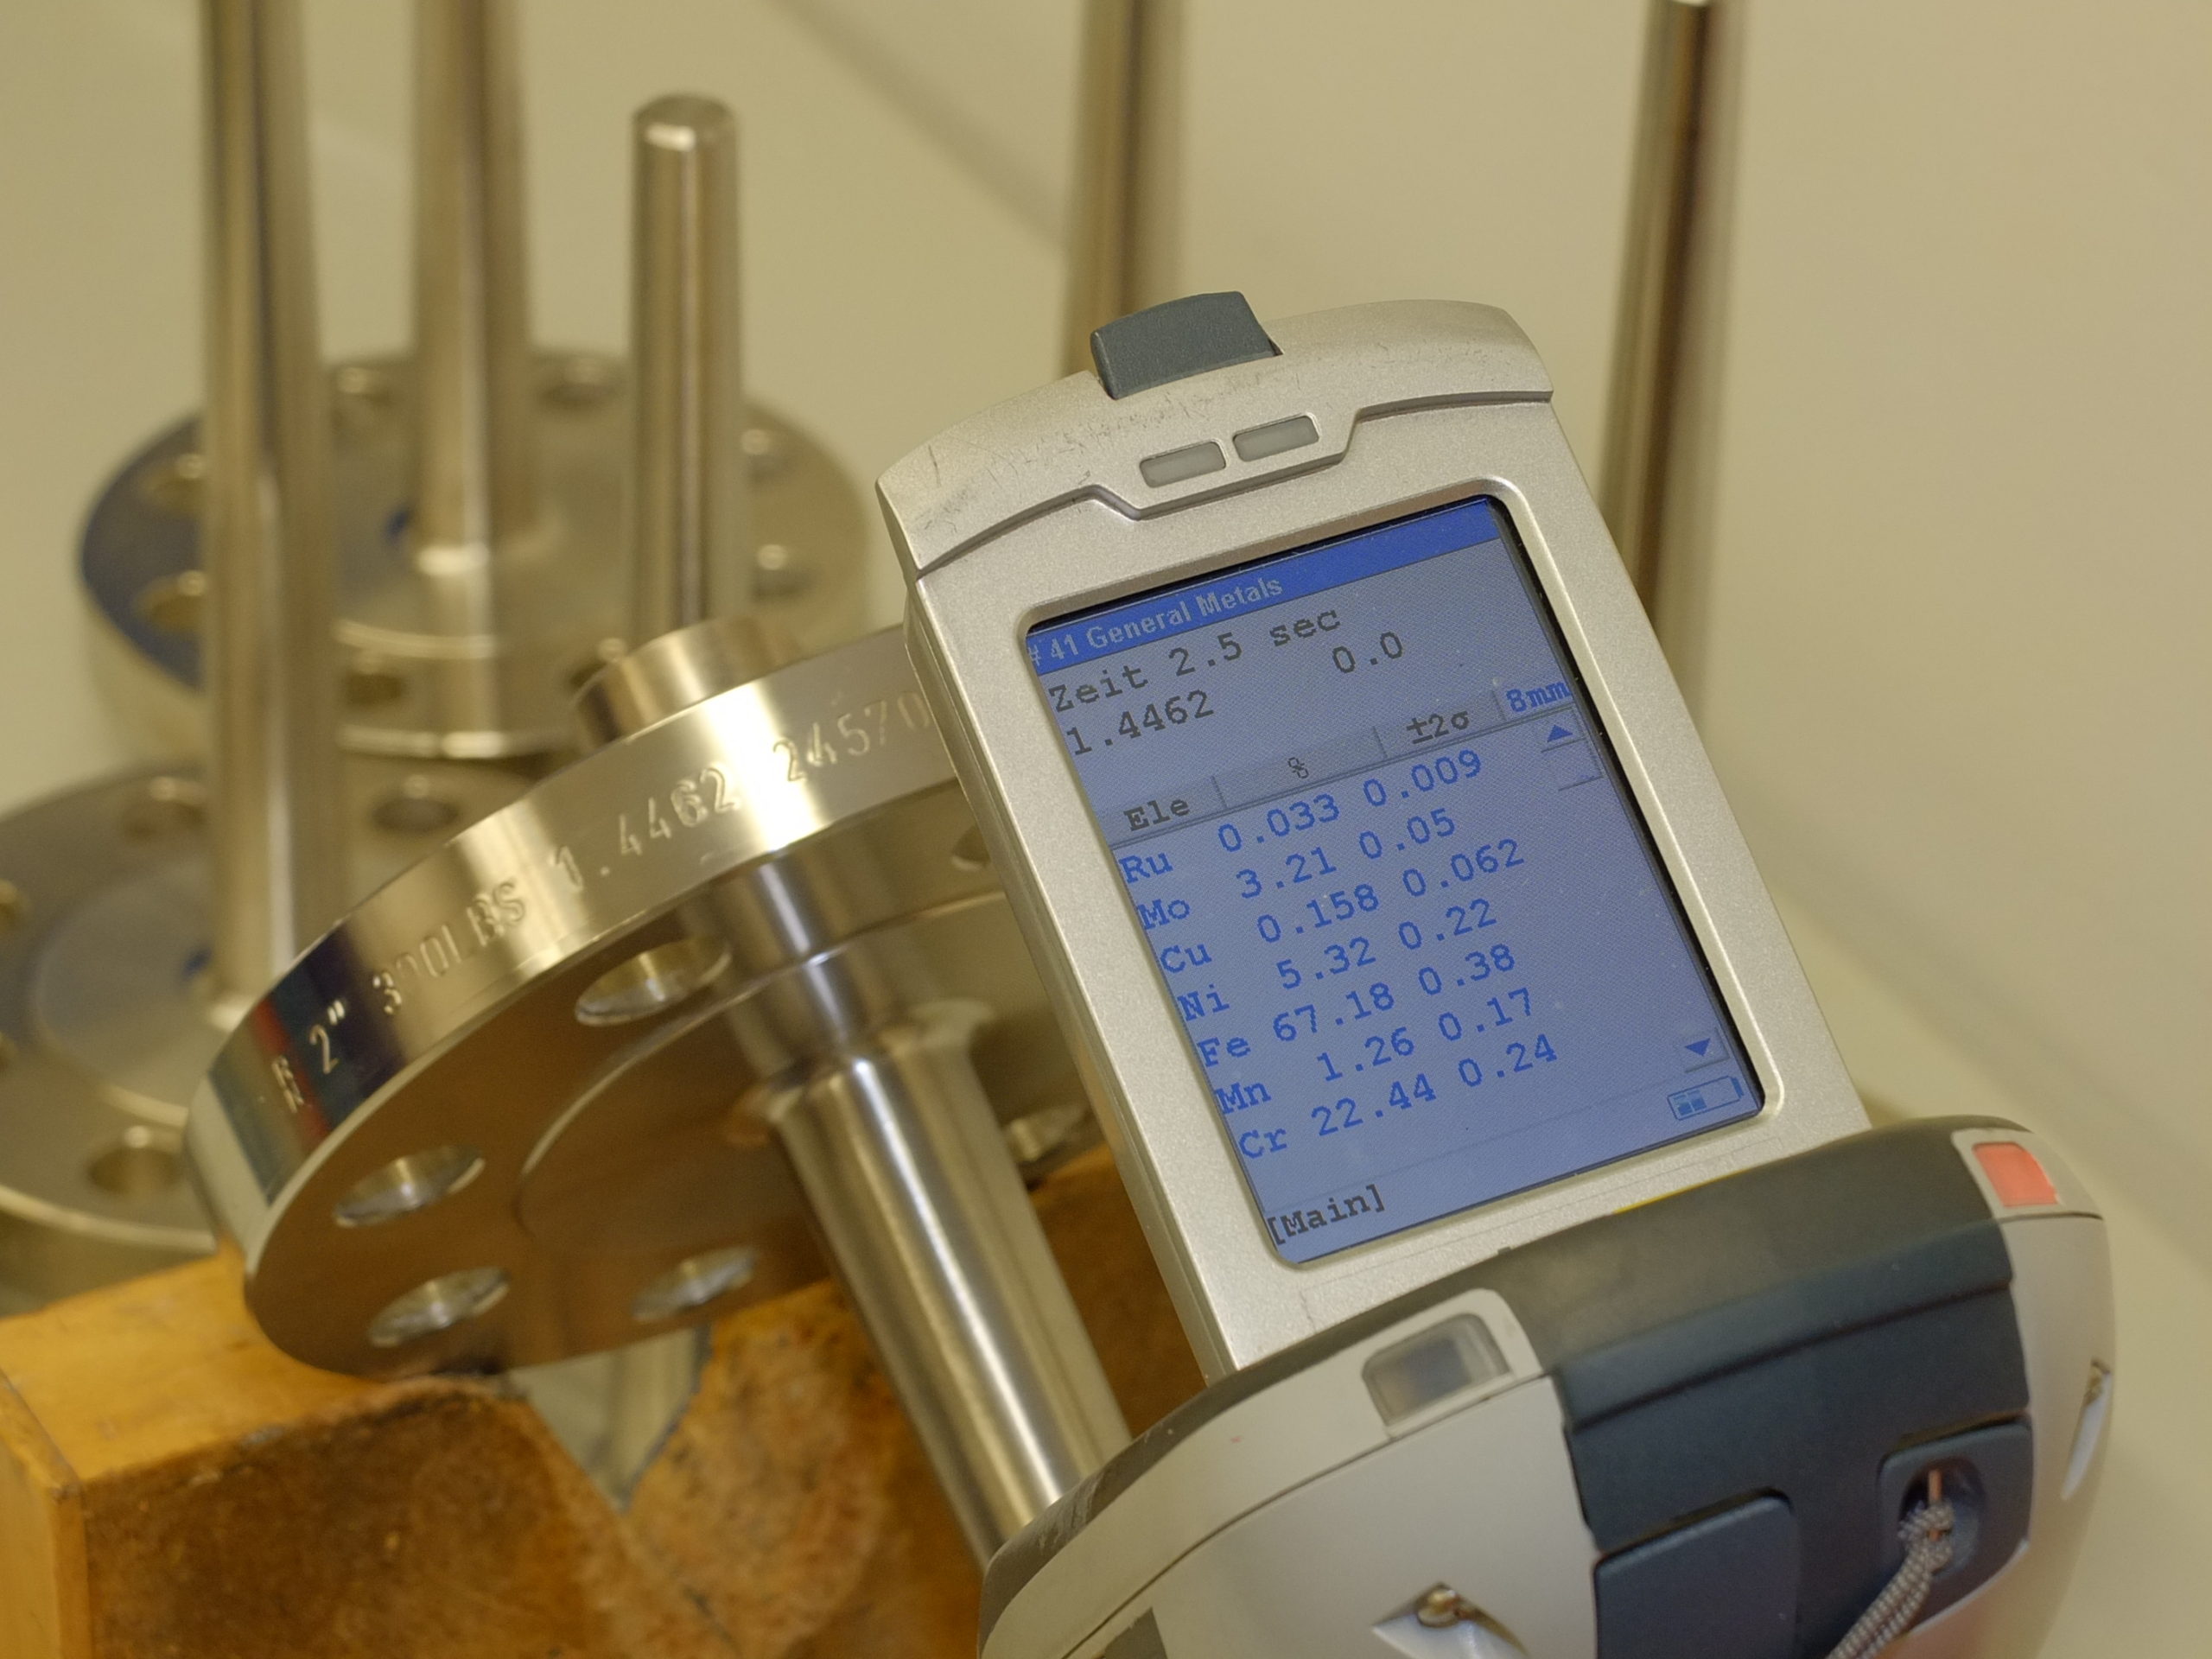
Positive Material Identification(PMI)
- PMI, the analysis of a metallic alloy to establish composition by reading the quantities by percentage of its constituent elements.
- Temperature is often the first and easiest-to-find indication of a developing problem and can be quickly used as a screening technique for situations that will benefit from further analysis.
Advantages of Positive Material Identification (PMI)
- Rapidly verify alloys in seconds
- Recover lost material traceability
- Isolate finished welds to validate filler material composition and dilution rates
- Confirm the integrity of process piping, valves, and reaction vessels Pipes, Tubes, Forged bars, Valves, Flanges, Weld seams ,Tanks, Vessels Structural supports, Bolts, rivets, and other fasteners
- Handheld X-ray fluorescent (XRF) analyzers have the capability to quantify or qualify nearly any element from Magnesium to Uranium, depending on specific instrument configurations.
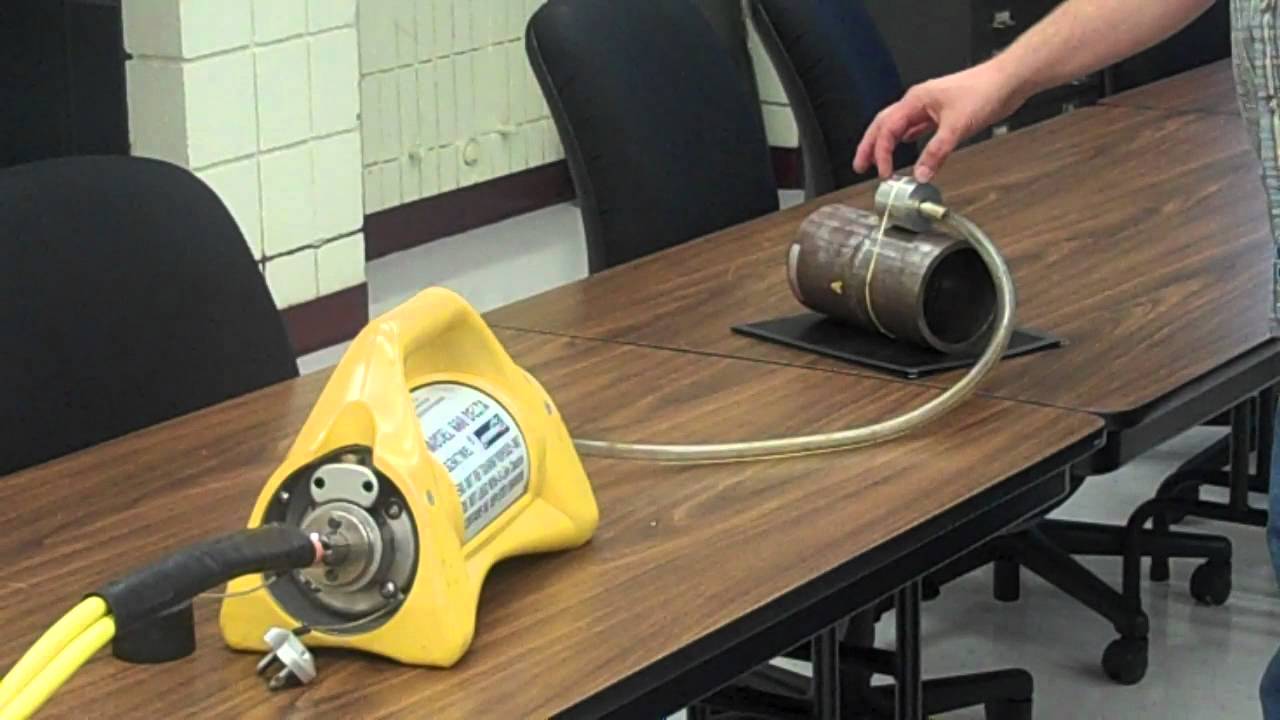
Heat Treatment Services
- Singlepeak offers a full range of heat treatment services through a wide range of temperatures.
- We utilize electrical method as a source of heating with the objective of bringing your project in on time and on budget.
- Heat Treatment has expertise in the areas of pre heat and post-weld heat treatment applications as well as in specialized areas such as annealing, normalizing, quenching and tempering, hardening of low, medium, and high carbon and alloy steels,.
